ID photo dematerialisation: instructions and advices
Service available for students
With the aim to dematerialize your registration documents you can find here instructions and advices to be sure that your ID photo is accepted.
Instructions
- Your ID photo must be in the JPG (or PNG) format.
- The resolution must be at least 240x300px.
- Your face must be: unique, in the middle and it must occupy almost all the space.

- Your photo must have a 4:5 aspect ratio (portrait).

If these conditions aren’t met your photo will be refused and it will block the creation of your student card.
Examples of invalid photos:
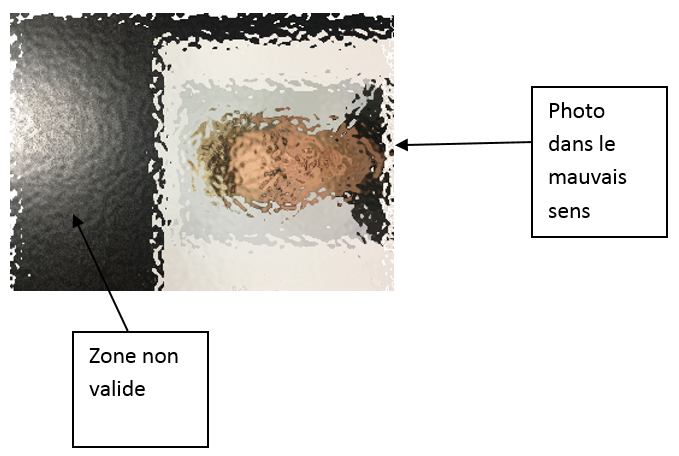
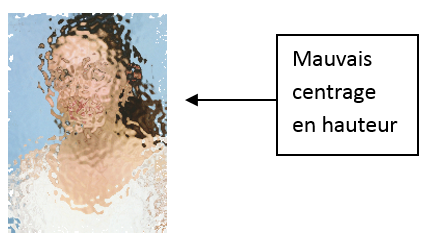
Advices
Simple photo treatment with Microsoft Paint
You can use Paint if your photo doesn’t respect the previous instructions and if it isn’t already cut.
1. Find the original photo on your computer or scan it.
2. Open it with Paint (or another one)
If your photo is turned in the wrong direction:
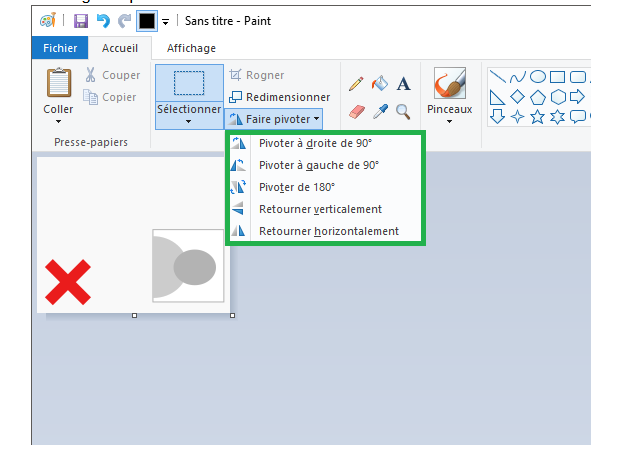
- Select the photo with Ctrl+A
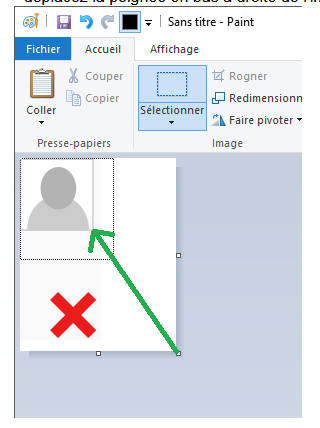
- Drag the photo to the top left corner of the image.
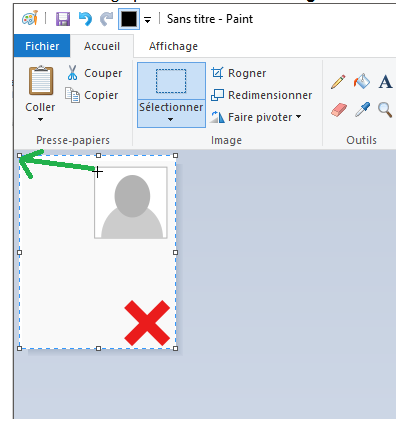
- Click on the empty area (grey area);
- move the bottom right corner of the picture to the bottom right corner of your photo to reduce the size of your document.
3. When your photo is correct and have a 4:5 aspect ratio, you can save it:
File > Save as > jpg format.
Treatment with an online photo ID generator
With a web browser you can search for an online photo ID generator with which you can rework your photo in the expected format.Updated on December 16, 2020

